How to make your Travel Photography Photo's Not Boring #414 Part 2
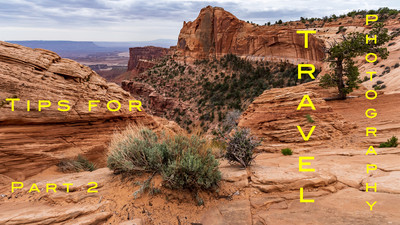
 Hey Ya'll! How's your week going? Mine? Pretty well. This week's blog is a continuation of last week's blog which you can see by going to this link. How to make your travel Photography not boring. Part 1 This week I want to start off by talking about how our brains plays tricks on us . What I mean to say is that when we see a scene that is very complicated our brains tune out all the clutter . Maybe it zooms into the subject but when we take a photograph the camera sees everything warts and all. And the photo doesn't look anything like what we thought we saw. So when you get home and look at the photo's they have that boring "blah" look to them. So here's another tip.
When you take a photo when you're out and about ask yourself two
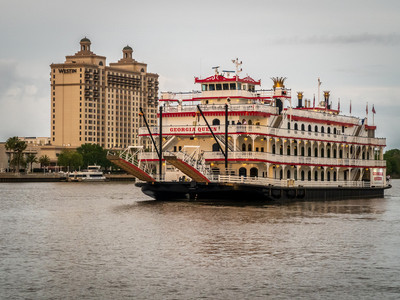 questions. Look at the back of your camera and ... Question 1. Is there something that I can add to make this photo stronger? Was I zoomed in too tight? Do I need to move to a different position to make the photo stronger? And Question 2. Is there something that I can remove to make the photo look cleaner? Do I need to zoom in with my lens or my legs to cut out something that is distracting? Do I need to move to a different point of view to make the photo look less cluttered. By doing this you are training your brain to look at the scene like a photographer and soon you will be taking better photos. Now say you got your photo. Maybe it was of a statue in a square the next thing you should do is take a wider angel photo to include the surrounding scenery. Then take a detailed photo of something in the area. Maybe just one section of the statue. Now you have 3 photo's that tell a story. You have the subject , the surrounding area and some detail of the area. You have a story.
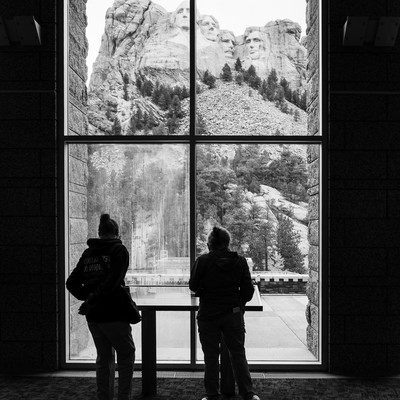 If you're like me when you get to a new spot to shoot when traveling you want to take out your camera and just shoot, shoot, shoot. I understand but I think you should just look around first. Scope out the place and decide where a good photo would come from. When I get out and shoot , shoot , shoot I never use those photo's because they are usually not the best point of view to capture the best shot of what I'm looking at. Enjoy your travels and be in the moment and then shoot , shoot, shoot. You'll get better photo's. I like to shoot Raw + JPEG. If I shoot just RAW let's say I shot 500 photo's. A lot of those photo's won't be used but if I were just showing to my family the whole set of JPEG's which are already processed is a easy way to share with family and friends and if I have a photo that I really want to edit then I have the RAW for that.
Don't just chase the big touristy instagram shots. Sure get those shots but look around for more everyday normal stuff. Say you're in Japan and a temple is the big shot but just the every day stuff that the local people are doing. Maybe a local is cleaning the street in front of their storefront. Something you don't see in America that can be very interesting and compelling shot that might be more interesting than the big shot that you were looking to get. These types of shots seem to tell a better story than the touristy one.
Give yourself a project to shoot while you're traveling. It could be almost anything. Shoot circles, or colors or maybe vending machines. These
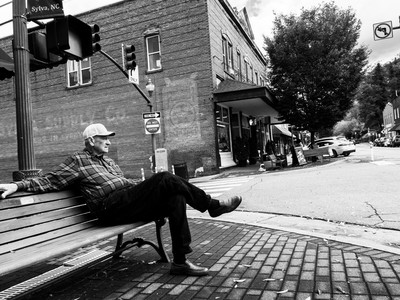 little photo projects while you're out and about are not only fun but they will help you see details that you normally wouldn't see because you were not looking for something you were just trying to get to the next instagram touristy place. You will be surprised of the types of photo's you'll find along the way and while searching you might find that trip winner.
When you get home from your trip try to print some of your photo's. They don't have to be anything special or expensive. I call them my shoebox photos. I usually send some of my winners from each trip to Walgreens or Walmart and get 4x6 or 5x7's made of my winners. It's fun to frame these little photos and put them around your house and its fun for people to look and explore when they come to your house. When my wife has new people over I like to be like a fly on the wall and watch people start looking at the photo's. They are like what is this or where is this at. My wife will tell them that I took these photo's at whatever place it was. It's nice to see other people look at your photo's for the first time we don't usually get that privilege because most of our viewers are online.
Well we had to get to it let's talk about gear. When I first started shooting travel I had to have all the lenses with me and I thought it made me feel like a real photographer but really it made me feel like a pack mule when I went on photo walks . Now I try to travel with one body and two lenses. Not only does this make me a better photographer because I'm not tired from carrying around a heavy load it makes decisions easier. I'm not changing lenses all of the time. I'm carrying a standard zoom (24-70 full frame equivalent ) and a longer zoom a 70-200 full frame equivalent would be fine. If I need a super wide lens I take out my phone for the shot
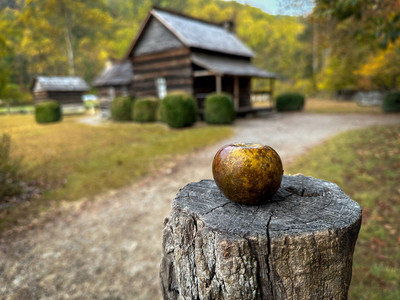 or I do a panorama with my standard zoom lens. The standard zoom lens stays on 90% of the time keeping dust off of my sensor. I have a CPL filter to enhance Landscapes and to cut down on reflections. And that's about what I actually carry when I'm out and about walking around. Other things I'll bring are a battery charger to charge batteries at night. A tripod only if you think you will need one. Maybe a tabletop or a Platapod . I also have ND (Neutral Density) filters for slowing shutter down. These are things I only carry if I know I might need them otherwise they stay in the car or hotel room. If you're an Apple user I use air tags in all of my camera bags to make sure I don't forget anything leave behind or if something was stolen I can track them. Spare SD cards . I try to have a different one for each day of my trip.
For shooting modes I'm usually in Aperture Priority but manual works well also. Whatever you're comfortable with. Shoot even if you have to shoot in Program mode it lets you get the shot. Shoot in Shutter priority to slow down the shutter for artsy photos. If you have image stabilization either in camera or lens I would keep it on. One tip is when shooting a slower shutter shoot in burst. The first one might be blurry because of pushing the shutter button but the second should be sharper.
My last big tip is if you're traveling with family. Get up early and do a photowalk somewhere while your family is still sleeping. They are never as interested in your photography as you are and would much rather sleep in than go with you out early. You can practice different techniques and may even get that winner. They will say when did you get that shot? And you'll say " while you were sleeping" LOL Well that's about it for some tips for travel photography. I hope this has helped you and you quit getting those boring travel photo's. Until Next week "Get out and Shoot!"
Hey if you want to check out my photography go to my instagram account Max Stansell Photography there are over 2000 posts there. Here is the link
Max Stansell Photography Instagram Link
